Essential OBS Hotkeys Every Esports Caster Should Set Up in 2026
Master your broadcast with our guide to essential OBS hotkeys. Learn setups for scenes, replays, and audio to cast like a pro and elevate your production.
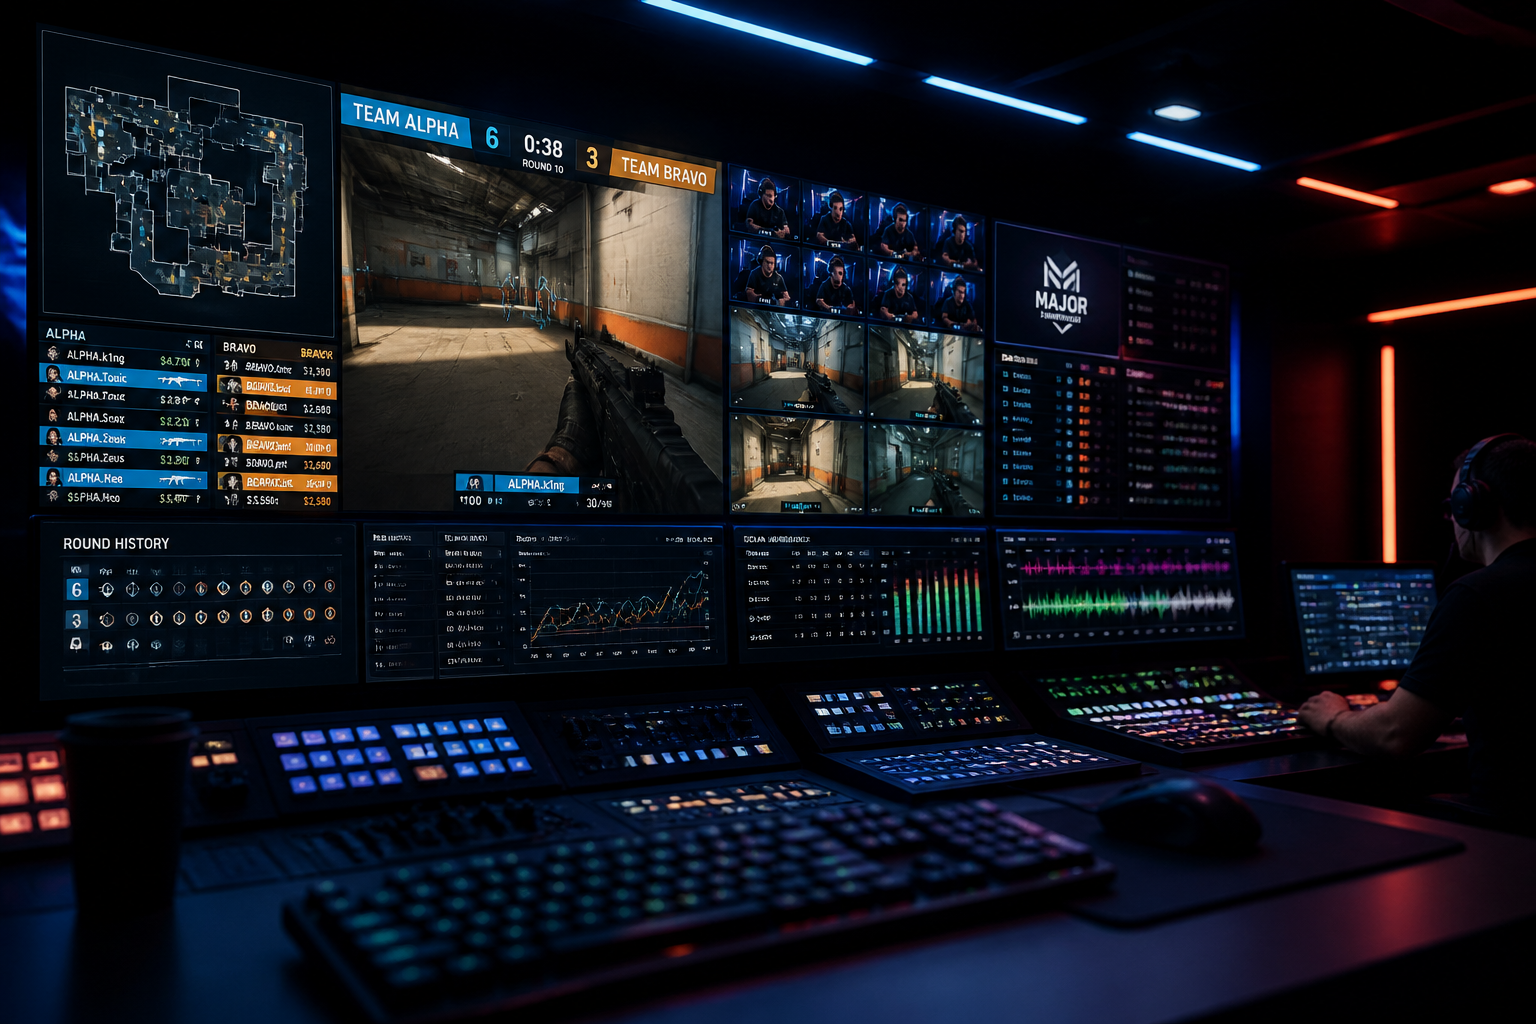
When you're casting a high-stakes esports match, the last thing you want is to be fumbling with your mouse to switch scenes or mute a microphone. A single missed click can mean failing to capture a pivotal play or broadcasting a private conversation. To produce a professional stream, you need speed and muscle memory, which is where a well-configured set of OBS hotkeys becomes your most valuable tool. This guide will walk you through setting up the essential OBS hotkeys for scene switching, audio management, and instant replays, transforming your casting workflow from reactive to proactive. We will also cover how HUDrift's automated overlays complement a robust hotkey setup.
Core Scene Switching: Your Foundational OBS Hotkeys
The most fundamental task in live production is switching between scenes. You need to move seamlessly from your main gameplay view to a full-screen caster camera, an analyst desk setup, or a 'Be Right Back' screen during a pause. Relying on your mouse to click through the scene list in OBS is slow and prone to error. Assigning dedicated keys for your primary scenes allows for instantaneous cuts that keep your broadcast dynamic and professional. This is the bedrock of your entire production workflow.
A highly effective method is to map your scenes to your keyboard's Numpad. The grid layout is intuitive and physically separate from your main typing keys, reducing the chance of accidental presses. You can create a mental map: NUM 1 is your primary gameplay scene, NUM 2 is your co-caster or analyst scene, NUM 3 is a replay scene, NUM 4 is your 'Starting Soon' screen, and so on. To set this up, go to `Settings > Hotkeys` in OBS. For each scene in your list, you'll see an entry for 'Switch to Scene'. Click the text box next to your desired scene and press the Numpad key you wish to assign.
Consider setting hotkeys not just for scenes but also for transitions. You might want a sharp 'Cut' for fast-paced action but a 'Fade' or 'Stinger' for moving to a break or post-match analysis. In the Hotkeys menu, under the 'Transitions' section, you can assign keys to trigger specific transitions. For example, you could use `Ctrl+NUM 1` to fade to your gameplay scene instead of cutting. This gives you another layer of control over the pacing and feel of your broadcast, ensuring every transition matches the on-screen context.
When you combine this with HUDrift, your scene switches become even more powerful. Your 'Gameplay' scene, for instance, isn't just the game capture; it contains a browser source from HUDrift. When you press NUM 1 to switch to that scene, the fully automated HUDrift overlays are already there, showing live KDA, team scores, and player equipment for CS2 or agent ultimates for Valorant. You manage the cut; HUDrift manages the data. This integration is what allows a solo producer to deliver a broadcast with the polish of a multi-person studio.
Managing Audio with Precision OBS Shortcuts
Audio control is just as critical as video. An ill-timed cough, a background notification, or a conversation with a co-caster that wasn't meant for air can instantly undermine your professionalism. Hotkeys for muting and unmuting audio sources are non-negotiable. You need the ability to instantly silence your own microphone, your co-caster's audio input (if managed on your machine), the game audio, or any other desktop sounds without navigating the OBS audio mixer.
For audio controls, the function keys (F1-F12) are an excellent choice as they are rarely used in-game and are easy to locate by touch. You can establish a simple system: `F1` for 'Mute' and `Shift+F1` for 'Unmute' for your own microphone. Use `F2` and `Shift+F2` for your co-caster's audio source, and `F3` and `Shift+F3` for game audio. In `Settings > Hotkeys`, find your audio sources in the list and assign keys to the 'Mute' and 'Unmute' actions. Some casters prefer a single key for 'Push-to-Mute'. This inverts the logic: your mic is always on unless you are holding down the key. This is useful for preventing dead air but requires you to actively press the key to ensure privacy.
The alternative, 'Push-to-Talk', is more common in gaming but can be less ideal for casting. You want your commentary to flow naturally, not be chopped up by you forgetting to hold down a key. Therefore, setting distinct 'Mute' and 'Unmute' hotkeys is often the superior professional choice. This setup gives you absolute certainty about your microphone's status. Before taking a drink or clearing your throat, you hit your mute key. Once you're ready, you hit your unmute key. There is no ambiguity.
During high-stakes tournaments like the upcoming Esports World Cup 2026 for VALORANT, production standards are incredibly high. Even small-scale community casts of such events are judged by their professionalism. Having your audio hotkeys locked down ensures you can focus on your analysis and play-by-play, confident that no stray sounds will disrupt the viewer experience. It's a small technical detail that has a massive impact on perceived quality.
Instant Replays & Source Control: Advanced OBS Hotkeys
Capturing and replaying a highlight is a hallmark of any great esports broadcast. OBS has a powerful feature called the Replay Buffer that, when combined with the right OBS hotkeys, allows you to do this instantly. The Replay Buffer continuously records the last few seconds of your stream into your computer's memory. When an incredible play happens, you hit a hotkey to save that buffer as a video file, which you can then play back for your audience.
To enable this, go to `Settings > Output`. Change the 'Output Mode' to 'Advanced'. Click on the 'Replay Buffer' tab and check the 'Enable Replay Buffer' box. Set the 'Maximum Replay Time' to your desired length—20 or 30 seconds is a good starting point for games like CS2 or Valorant. Now, navigate to `Settings > Hotkeys`. Find the 'Replay Buffer' section and set a hotkey for 'Save Replay'. This is your magic button. You should also set a hotkey to 'Start Replay Buffer', which you'll press once when you begin your stream.
Here’s the complete workflow in action. You're casting a match where PARIVISION is playing against BIG. A player hits a clean 4k to clutch the round. The moment the final kill is confirmed, you press your 'Save Replay' hotkey (e.g., `Ctrl+S`). Then, you press your Numpad hotkey (e.g., `NUM 3`) to switch to your dedicated 'Replay' scene. This scene should contain a 'Media Source' configured to play the most recent file from the video output folder that OBS saves replays to. The highlight you just saved will automatically play on stream, allowing you and your co-caster to break it down for the viewers. After the replay, you hit `NUM 1` to cut back to the live game.
Beyond full replays, you can also use hotkeys to control the visibility of individual sources within a scene. For example, you might have a sponsor logo, a specific player statistic, or a map veto graphic that you only want to show at certain times. In the Hotkeys menu, find your scene, and you'll see every source listed below it with options for 'Show' and 'Hide'. You could bind `Alt+1` to show a 'Sponsor A' logo and `Alt+2` to hide it. This granular control allows you to add and remove elements from your overlay on the fly, reacting to the flow of the game and conversation without ever needing to switch scenes. This is crucial for keeping your broadcast looking clean and relevant. You can find more details in the official OBS Hotkeys documentation.
Integrating HUDrift for Smarter Broadcasting
A common misconception is that OBS hotkeys and a tool like HUDrift operate in isolation. In reality, they form a powerful, symbiotic relationship for professional broadcasting. Your OBS hotkeys are responsible for the mechanical actions of production: switching scenes, muting audio, and triggering replays. HUDrift, on the other hand, is responsible for the intelligent content *within* those scenes. You are the director, and HUDrift is your automated graphics operator.
Think of it this way: when you set up your 'Gameplay' scene in OBS, you add a Browser Source and paste in the URL provided by the HUDrift desktop app. From that point on, HUDrift's engine automatically detects game events and updates the overlay with real-time data. When you use your Numpad hotkey to switch to this scene during a live CS2 match, the scoreboard, player health/armor, and inventory are already live and correct. You didn't have to manually input that data; you just had to execute the scene change.
This workflow frees you from the tedious task of data management and allows you to focus purely on casting and production timing. While HUDrift automates most data, its desktop application also supports its own hotkeys for specific actions. You can configure a global hotkey to manually trigger a data refresh or activate a custom animation you've built. This creates a two-tiered system of control: OBS hotkeys for your broadcast structure and HUDrift hotkeys for fine-tuning the data-driven graphics, giving you ultimate control without overwhelming complexity.
This level of integration is what separates a basic stream from a professional broadcast. It's how you can single-handedly cover an event like the XSE Pro League and present a viewer experience that rivals major tournament organizers. Your hotkeys ensure your timing is perfect, while HUDrift ensures the information your viewers see is always accurate.
Best Practices and Avoiding Hotkey Conflicts
Once you begin setting up your hotkeys, it's important to follow a few best practices to ensure a smooth and conflict-free experience. The most critical rule is to avoid binding keys that are used by the game you are casting or by your operating system. For example, binding 'Start/Stop Recording' to the 'R' key is a bad idea in most shooters, as you'll trigger it every time you try to reload. This is why using the Numpad, Function keys, or keys on the far right of the keyboard (like Scroll Lock and Pause/Break) is highly recommended.
To expand your available keys, make liberal use of modifiers like Ctrl, Alt, and Shift. `F1` can be Mute, `Ctrl+F1` can be Start Recording, and `Alt+F1` can be Start Streaming. This allows you to group related functions logically around a single base key. Once you have your layout, consider creating a physical printout or a digital cheat sheet on a second monitor. Taping a small list of your core hotkeys to the bezel of your main monitor can be a lifesaver during a chaotic broadcast until the muscle memory is fully ingrained.
OBS also allows you to save your hotkey configurations within Profiles. You can find this under the 'Profile' menu at the top of the OBS window. This is incredibly useful if you cast multiple different games. You can have one profile for CS2 with its specific scenes and hotkeys, and another for Valorant. When you switch profiles, your entire hotkey map, along with all your other settings, will change instantly. This prevents you from having to manually re-bind keys for every broadcast.
Ultimately, consistency is key. The grind to become a top-tier caster isn't just about game knowledge; it's about mastering your tools. As CS2 pro r3salt noted about his team's journey, sometimes you have to "keep slogging through the shit" to improve. Source: HLTV.org. This applies directly to production. Dedicating time to setting up, learning, and practicing your hotkeys is the foundational work that pays off tenfold during a live broadcast.
Mastering your OBS hotkeys is a fundamental step towards achieving a truly professional broadcast. By setting up dedicated keys for scene switching, audio control, and instant replays, you eliminate hesitation and ensure your production is as fluid and engaging as the game you're casting. This discipline is the foundation upon which great commentary is built.
Ready to pair professional hotkey discipline with powerful, automated esports overlays? Download HUDrift today to see how our tools integrate seamlessly into your production workflow. Explore our pricing plans to find the right fit for your casting ambitions and take your stream to the next level.
Frequently Asked Questions
- What are the best keys to use for OBS hotkeys?
- The best keys are those that don't conflict with your game or OS. The Numpad is excellent for scene switching due to its grid layout. Function keys (F1-F12) are ideal for audio controls like mute/unmute. For more options, use modifiers like Ctrl, Alt, and Shift to create unique combinations for actions like starting/stopping your stream or replay buffer. Avoid common in-game keys like W, A, S, D, R, and Spacebar.
- Can I have different OBS hotkeys for different games?
- Yes. OBS uses a system called 'Profiles' for this purpose. You can create a new profile for each game you cast (e.g., 'CS2 Casting', 'Valorant Casting'). Each profile saves its own unique set of hotkeys, as well as video and output settings. When you're about to stream a specific game, you simply load the corresponding profile from the 'Profile' menu at the top of the OBS window, and all your custom hotkeys will be active.
- How does the OBS Replay Buffer work?
- The Replay Buffer continuously records the last X seconds of your stream to your computer's RAM (you define 'X' in the settings). It doesn't save anything to your hard drive until you tell it to. When a highlight occurs, you press your 'Save Replay' hotkey. OBS then takes the footage stored in the buffer and saves it as a video file. This allows you to capture moments that have just happened without having to record your entire stream.
- Do I need a Stream Deck if I have good OBS hotkeys?
- A Stream Deck is not a necessity, especially when you have a well-organized hotkey setup on your keyboard. Hotkeys are free and can accomplish the same core functions. The main advantages of a Stream Deck are the visual feedback from the LCD buttons and the tactile separation from your keyboard. It's a quality-of-life upgrade, but you can achieve a fully professional broadcast using only keyboard hotkeys with practice.
- How does HUDrift work with my OBS scenes?
- HUDrift provides a unique browser source URL for your specific game and overlay configuration. In OBS, you create a 'Browser' source in your scene(s) and paste this URL. HUDrift's desktop application then reads live game data and sends it directly to this browser source. This means your overlay updates automatically with scores, stats, and player information in real-time. Your OBS scenes simply display the content that HUDrift provides.