The Esports Casting Setup You Need in 2026: Gear & Software
Building your esports casting setup? This guide details the essential mics, cameras, and software you need to cast CS2 or VALORANT like a pro in 2026.
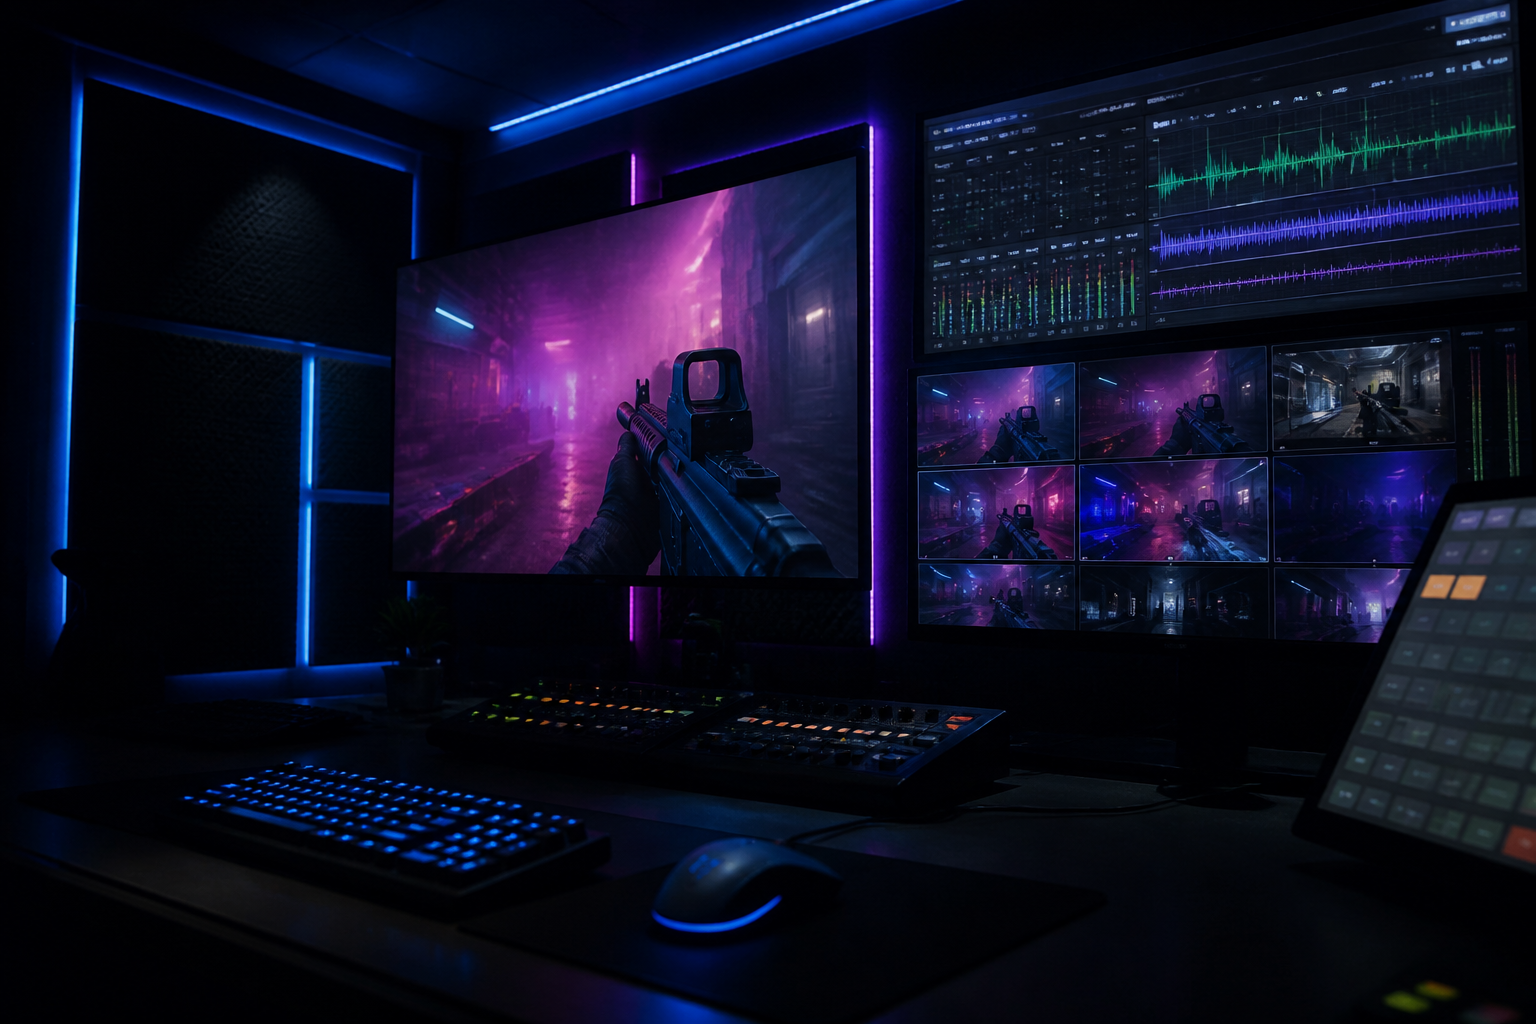
You're watching the grand finals, the crowd is roaring, and two casters are guiding millions of viewers through the nail-biting conclusion of a championship. That can be you. But between you and that moment is a mountain of technical questions about gear, software, and workflow. This guide demystifies the process, providing a practical, no-nonsense roadmap to building your first professional **esports casting setup**. We'll cover the specific microphones, cameras, PC components, and software you need to produce a high-quality broadcast from home, ensuring you have the foundation to cover everything from local community cups to major online qualifiers.
The Core of Your Esports Casting Setup: Audio
Before you think about 4K cameras or RGB lighting, you must perfect your audio. Your voice is your primary instrument as a caster, and for your audience, poor audio quality is far more jarring than soft video. A microphone that crackles, picks up every keyboard clack, or sounds like you're in a wind tunnel will cause viewers to leave immediately. This is the one area where you should allocate a significant portion of your initial budget. Investing in a quality microphone and audio interface is the single most important step toward a professional sound.
The first major choice is between a dynamic and a condenser microphone. For most home casting environments, a dynamic microphone is the superior choice. Models like the Shure SM7B or Rode Procaster are industry standards because their pickup pattern is designed to reject off-axis noise. This means they focus on your voice and ignore the sounds of your mechanical keyboard, PC fans, or housemates. They deliver that tight, classic 'radio voice' sound that is ideal for casting.
Condenser microphones, like the Rode NT1 or Audio-Technica AT2020, are more sensitive and capture a wider range of frequencies, resulting in a very detailed and crisp sound. However, this sensitivity is a double-edged sword. In an untreated room, a condenser mic will pick up every echo, reverb, and background noise, making your audio sound hollow and unprofessional. If you have a dedicated, sound-treated studio space, a condenser can be a great option. For everyone else starting out, a dynamic mic will provide better results with less environmental hassle.
To connect these microphones to your computer, you need an audio interface. While USB microphones like the Blue Yeti or Shure MV7 are convenient, a proper XLR microphone connected to an interface provides superior quality, control, and future-proofing. An interface, such as the widely-used Focusrite Scarlett 2i2 or Audient EVO 4, converts the analog signal from your mic into a digital signal your PC can use. It also provides a physical gain knob for level control and a headphone output for zero-latency monitoring, which is critical for hearing yourself without any delay. If you choose a condenser mic, the interface also supplies the necessary 48V phantom power to operate it.
Visuals: Camera, Lighting, and Background
Once your audio is pristine, you can focus on the visual component of your cast. While your face is secondary to the gameplay, a clear, well-lit camera feed builds a stronger connection with your audience and signals professionalism. You do not need to start with a cinema camera, but you should aim for a clean 1080p image. The journey often starts with a high-quality webcam and progresses to a mirrorless camera as your channel and budget grow.
For your first camera, the Logitech C922 Pro or Razer Kiyo Pro are excellent starting points. They deliver a reliable 1080p image at 30fps (or even 60fps in the Kiyo's case) and offer decent performance in lower light. The key is to move beyond your laptop's built-in webcam, which is almost universally poor in quality. A dedicated webcam gives you better image fidelity, more control over settings like exposure and white balance, and the flexibility to position it for a more flattering angle.
The next major upgrade is moving to a DSLR or mirrorless camera, which offers a significant leap in image quality due to a much larger sensor and superior lenses. This creates a shallow depth of field (blurry background) that makes your shot look far more cinematic. Popular entry-level choices include the Sony a6000 series or the Canon M50 Mark II. To use one for streaming, you'll need a capture card, like the Elgato Cam Link 4K, to convert the camera's HDMI output into a USB signal your PC recognizes as a webcam. Ensure any camera you buy has a 'clean HDMI out' feature, which removes the on-screen display data from the video feed.
No camera, regardless of its price, will look good without proper lighting. Lighting is what separates a flat, grainy image from a crisp, professional one. The standard is a three-point lighting setup: a Key Light (your main, brightest light), a Fill Light (a softer light on the opposite side to fill in shadows), and a Back Light (to separate you from your background). You can start with affordable LED panels from brands like Neewer or Viltrox. For a more integrated solution, the Elgato Key Light Air provides excellent, diffuse light that you can control from your desktop. A well-lit face and a clean background (whether real or via a green screen) complete your visual presentation.
The Production Hub: Your PC and Broadcasting Software
Your computer is the engine of your entire **esports casting setup**. It needs to simultaneously handle the game you're casting, your broadcasting software, your camera and microphone inputs, and your graphical overlays. While pro players often use a dual-PC setup to maximize in-game FPS, a single, powerful PC is more than capable for a dedicated casting role where you are observing rather than competing. Focus your budget on a strong CPU and a modern NVIDIA GPU.
For the CPU, an AMD Ryzen 7 7800X3D or an Intel Core i7-14700K provides more than enough processing power to manage multiple applications without bottlenecking. For the GPU, the most critical feature for a caster is the NVIDIA Encoder (NVENC). This is a dedicated hardware encoder on all modern NVIDIA RTX cards (30-series and 40-series) that handles the video encoding for your stream. Using NVENC offloads this heavy task from your CPU, leaving it free to run the game and OBS itself. This is vastly more efficient than x264 (CPU) encoding on a single PC setup. Finally, 32GB of DDR5 RAM is the new standard, giving you ample headroom for OBS, Discord, browser tabs, and the game client.
Your broadcasting software is where everything comes together. OBS Studio is the undisputed king—it's free, open-source, incredibly powerful, and the industry standard. This is where you will compose your scenes, adding sources for the game, your camera, your audio, and your graphics. To get started, you'll need to configure your settings for your target platform, like Twitch or YouTube. For a high-quality 1080p 60fps stream on Twitch, use the following settings in OBS under Output -> Streaming:
- Encoder: NVIDIA NVENC H.264
- Rate Control: CBR (Constant Bitrate)
- Bitrate: 8000 kbps (Twitch's current recommended maximum for non-partners)
- Keyframe Interval: 2 s
- Preset: P6: Slower (Good Quality)
- Tuning: High Quality
- Multipass Mode: Two Passes (Quarter Resolution)
- Profile: High
These settings provide a great balance of quality and performance, leveraging your GPU's encoder to produce a crisp image without taxing your CPU. Always check the latest platform-specific recommendations, as they can change. For example, you can find Twitch's official advice on their broadcast guidelines page. Getting these settings right is fundamental to a stable, high-quality broadcast.
Graphics and Overlays: The HUDrift Production Layer
A professional broadcast is more than just a game feed and a webcam. It tells a story using data, graphics, and branding. Manually creating and updating scoreboards, player stats, and event information during a live game is impossible for a solo caster. This is where a dedicated production layer comes in, transforming your stream from a simple gameplay feed into a comprehensive viewing experience and elevating your entire esports casting setup.
HUDrift is a broadcast tool designed specifically for this purpose. It acts as an automated graphics operator, integrating directly with games like CS2 and VALORANT via their Game State Integration (GSI) APIs. You simply run the HUDrift app, add a unique browser source URL to your OBS scene, and the tool does the rest. It pulls data directly from the game in real-time, automatically updating on-screen graphics without any manual input from you.
Imagine casting a CS2 match. When a round ends, the score on your broadcast updates instantly. When a player clutches a 1v3, their K/D on the overlay reflects the new kills immediately. The bomb timer, player economy, and who is carrying what utility are all displayed live. This level of production was previously only available to large tournament organizers with dedicated graphics teams. With HUDrift's data-driven CS2 and VALORANT overlays, you can achieve the same professional look as a solo operator, allowing you to focus entirely on your commentary.
This automation is what makes you look like a pro. When you're trying to get noticed by covering online qualifiers, like the recent ones for the upcoming BLAST Porto event, having a polished, data-rich broadcast sets you apart. It shows you are serious about production quality. Furthermore, if you decide to host your own community events to build a portfolio, you can use HUDrift's integrated tournament platform to manage signups and brackets, creating a seamless experience for both players and viewers.
Putting It All Together: Your Workflow and Practice
Having all the right gear and software is pointless without an efficient workflow and consistent practice. In OBS, you should structure your broadcast using Scenes. Create a collection of scenes for different segments of your show: a 'Starting Soon' scene with a countdown timer and music, your main 'Live Casting' scene with the game feed and caster cams, a 'Halftime/Analysis' scene that features your camera full-screen for breaking down plays, and an 'Ending Stream' scene. Using hotkeys to switch between these scenes will make your broadcast feel fluid and dynamic.
You cannot expect to land a paid casting gig without a portfolio of your work. The best way to build one is to practice constantly. Download match demos from sources like HLTV.org for CS2 or VLR.gg for VALORANT. Cast these matches as if they were live. You can stream these practice sessions to a low-traffic Twitch or Kick channel, or simply record them locally. This allows you to experiment with your delivery, practice your play-by-play and analysis, and generate clips for a demo reel that you can send to tournament organizers.
Co-casting with a partner adds another layer of complexity, but also depth to the broadcast. For remote co-casting, you'll need a way to bring your partner's video and audio into your OBS scene. A simple way is a high-quality Discord video call, which you can window-capture into OBS. For better quality and more control, a tool like VDO.Ninja allows your co-caster to send their camera feed directly to your OBS as a browser source. The key challenges are ensuring audio is synced and that your co-caster can hear both you and the game audio (a 'mix-minus' feed) without creating echoes.
Beyond casting existing demos, you can build your personal brand and audience by creating shoulder content. Use your setup to produce analysis videos, guides, or commentary on trending topics in the community. For example, creating a well-produced video essay on a topic like 'Why are CS2 skins so expensive?' not only showcases your production quality but also your knowledge and personality. This content helps you build an audience that will follow you to your live casting gigs.
Ultimately, your esports casting setup is a combination of the right hardware, intelligent software, and practiced workflow. Good audio forms the foundation, clean video builds your brand, a powerful PC runs the show, and a dynamic graphics layer provides the professional sheen. The tools and technology to create a top-tier broadcast from home are more accessible than ever before.
To elevate your broadcast from a simple stream to a professional production, the next step is to integrate an automated graphics layer. Download the HUDrift app today and see how data-driven overlays for CS2 and VALORANT can instantly transform your cast.
Frequently Asked Questions
- What microphone is best for shoutcasting?
- Dynamic microphones like the Shure SM7B or Rode Procaster are industry standards. They are excellent at rejecting background noise like keyboard clicks and fan hum, which is common in a home casting environment. Unlike condenser mics, they provide that classic, tight broadcast vocal sound without needing a perfectly sound-treated room. For a budget start, the Shure MV7 is a great hybrid USB/XLR option that offers a lot of flexibility.
- Do I need a two-PC setup for casting esports?
- Not necessarily. A single, powerful PC is often sufficient for casting, especially if you are only observing the game and not playing. A modern CPU (like an AMD Ryzen 7 or Intel i7) combined with an NVIDIA RTX series GPU (for the NVENC encoder) can handle OBS, the game client, and your HUDrift overlays simultaneously without significant performance loss. A dual-PC setup is more for pro players who need to stream without impacting their in-game FPS.
- How can I get live stats on my stream like pro broadcasts?
- You can use a tool like HUDrift. It integrates directly with games like CS2 and VALORANT through their game state integration APIs. The HUDrift app reads live data—like scores, player K/D/A, economy, and utility usage—and automatically displays it on your broadcast via an OBS browser source. This automates the process, giving you professional, real-time graphics without needing a manual graphics operator.
- What's the most important piece of gear for a new caster?
- Unquestionably, your microphone. Audiences will tolerate mediocre video quality, but they will not listen to a cast with bad audio. A clear, crisp, and noise-free vocal is the foundation of your entire production. Invest in a quality dynamic microphone and an audio interface before you spend significant money on a camera or lighting. This is the single biggest factor in perceived professionalism for an aspiring esports caster.
- How much does a full esports casting setup cost?
- A budget starter setup can be built for around $500-$800, focusing on a good USB mic (e.g., Rode NT-USB+), a solid webcam (Logitech C922), and basic lighting. A mid-tier setup with an XLR mic, audio interface, and a key light will cost $1000-$2000. A high-end setup with a mirrorless camera, pro-grade mic (Shure SM7B), and multiple lights can easily exceed $3000, not including the PC itself.